
An enterprise-ready Next.js template that accelerates your development workflow
This is Next.js Szumplate, an open-source template for enterprise projects! It is packed with features that will help you create an efficient, maintainable, and enjoyable application. This template will save you a lot of time, so sit back, relax, and get ready to conquer the whole world with your new awesome app!
- ⚡ Next.js - Fast by default, with config optimized for performance
- 💅 Tailwind CSS - A utility-first CSS framework
- 🛠️ Extremely strict TypeScript - With
ts-resetlibrary for ultimate type safety - 🎯 Absolute imports - No more spaghetti imports
- 🧪 Vitest - Rock-solid and highly speed unit and integration tests
- 🧬 React Testing Library - Component testing
- 🎭 Playwright - End-to-end tests with smoke testing and acceptance tests
- 📚 Storybook - Create, test, and showcase your components
- ✨ ESLint & Prettier - Clean, consistent, and error-free code
- 🚀 GitHub Actions - Pre-configured workflows for CI/CD
- 🚢 Semantic Release - Automated versioning and changelog generation
- 🤖 Dependabot - Automated dependency updates
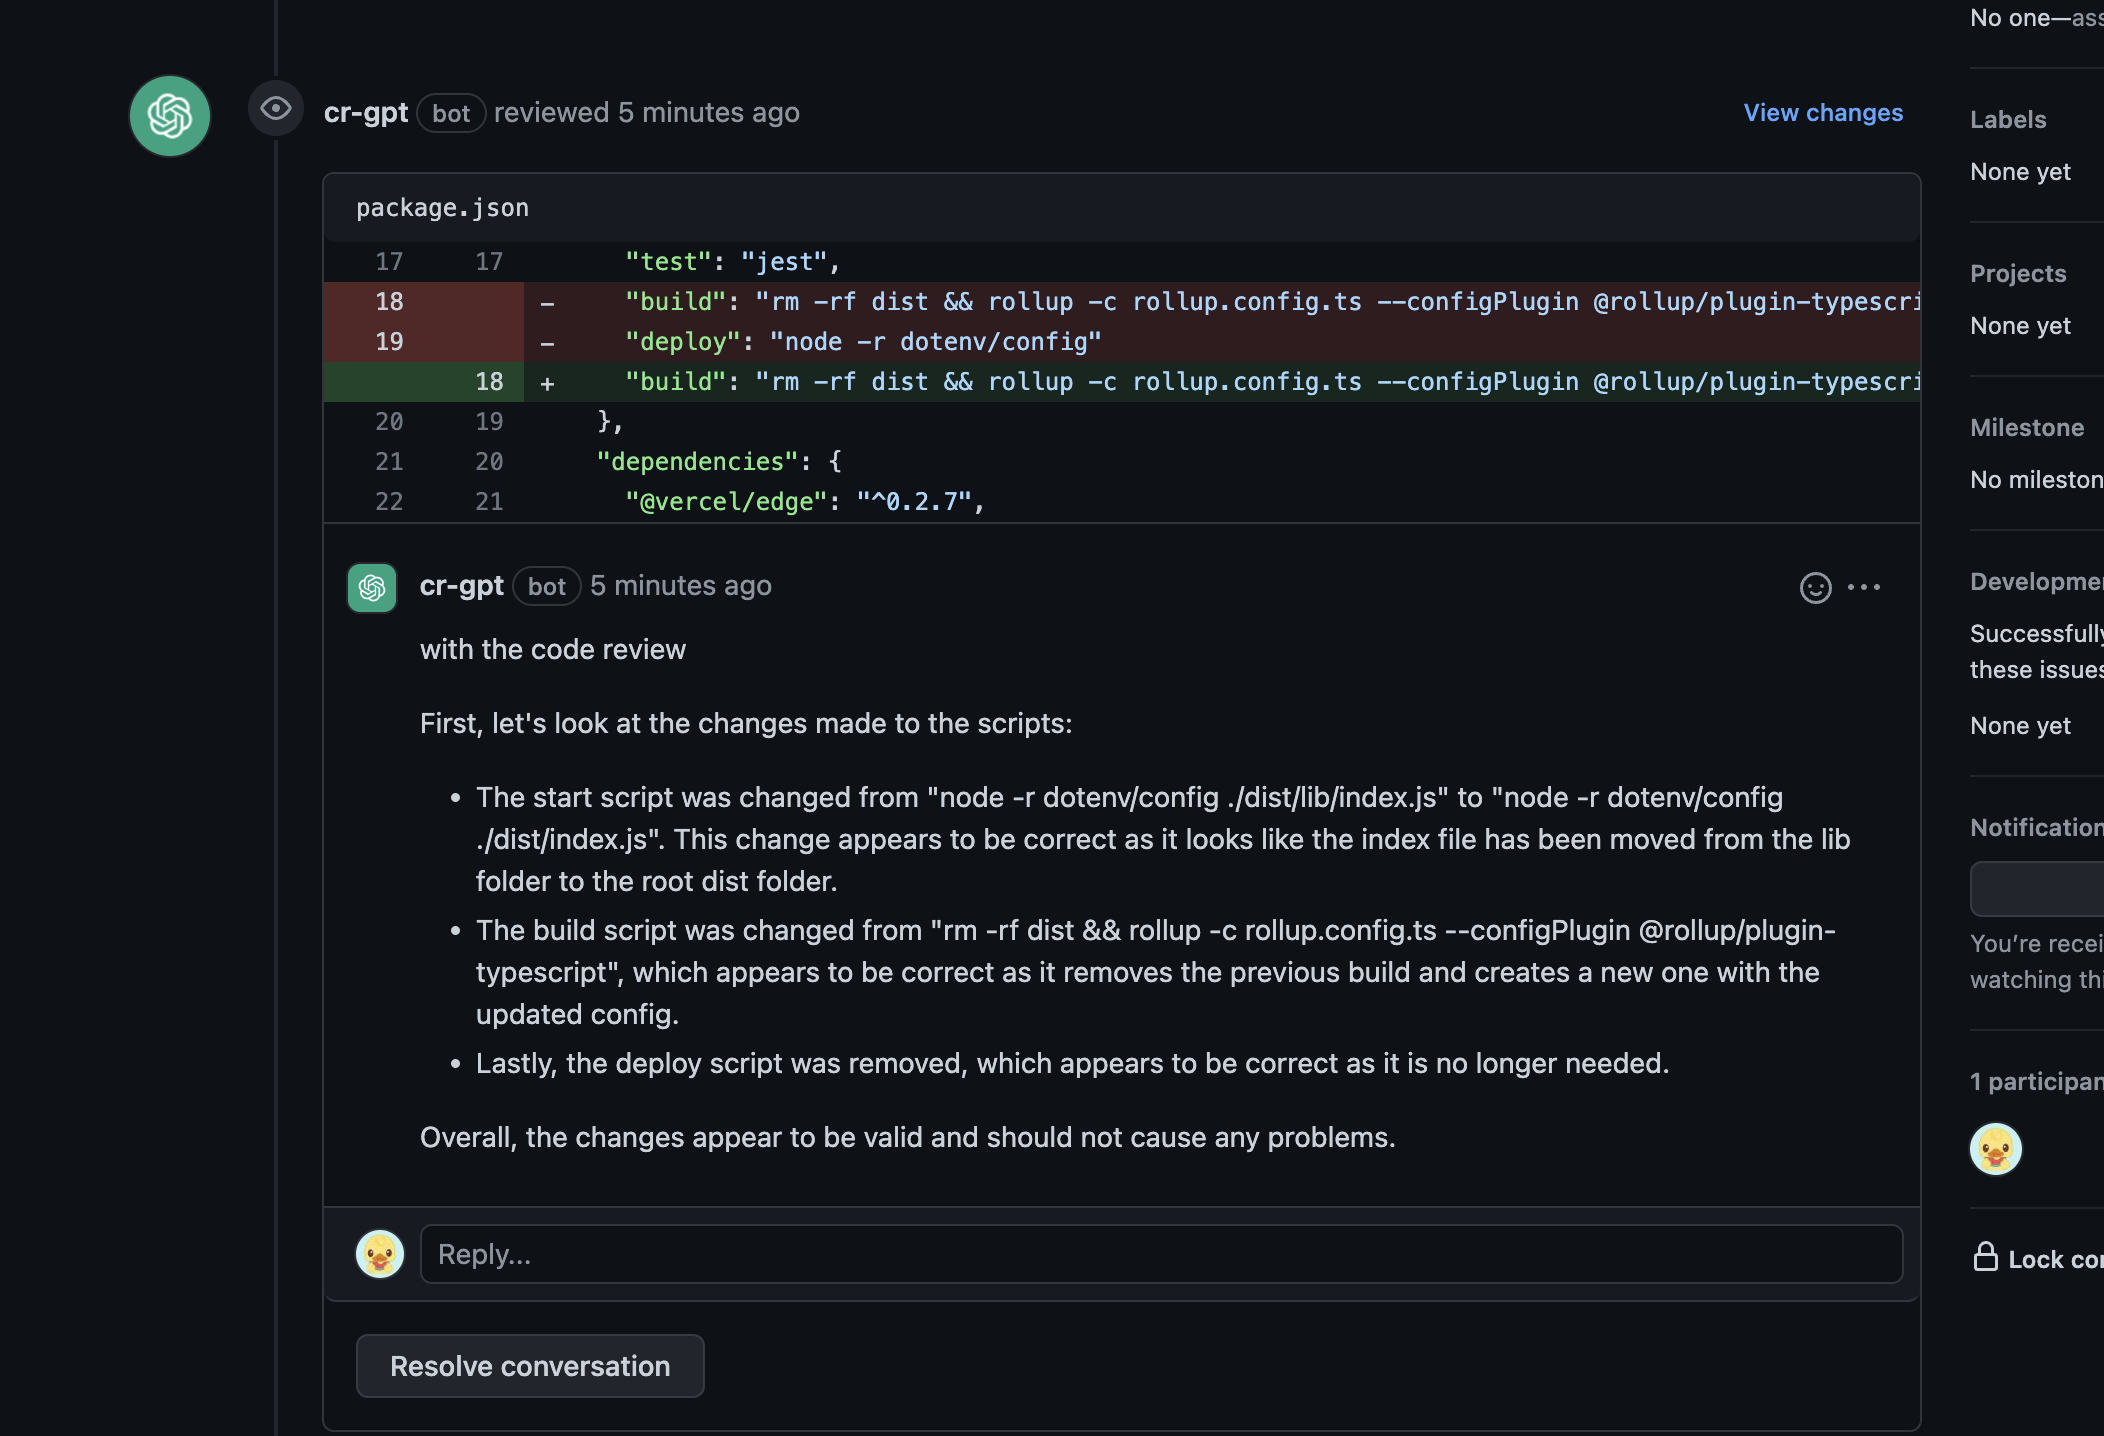
- 🧠 ChatGPT Code Reviews - AI-powered code reviews
- 💻 T3 Env - Type-safe environment variables management
- 📊 Bundle Analyzer - Keep an eye on your bundle size
- ⚕️ Health Checks - Kubernetes-compatible for robust deployments
- 🎨 Szum-Tech Design System - Pre-built components and design tokens
- 📝 Pino - High-performance structured logging with development and production modes
- 💯 Perfect Lighthouse Score - Optimized for performance, accessibility, and SEO
- ✨ Features
- 📖 Table of Contents
- 🎯 Getting Started
- 🚀 Deployment
- 📃 Scripts Overview
- 🧪 Testing
- 🎨 Styling and Design System
- 🤖 ChatGPT Code Review
- 💻 Environment Variables Handling
- 📝 Logging
- 🚀 GitHub Actions
- 🔒 Keeping Server-only Code out of the Client Environment
- 📁 Project Structure
- 🤝 Contributing
- 📜 License
- 🙏 Acknowledgments
- 📧 Contact & Support
Before you begin, ensure you have the following installed:
- Node.js (version 18.x or higher recommended)
- npm, yarn, or pnpm package manager
- Git for version control
Follow these steps to get started:
Don't forget to star ⭐ and fork the repository first!
git clone https://github.com/<your_username>/nextjs-szumplate.git
cd nextjs-szumplatenpm ciCreate a .env.local file in the root directory and add your environment variables:
# Add your environment variables here
# NEXT_PUBLIC_API_URL=your_api_urlnpm run devOpen http://localhost:3000 with your browser to see the result.
You can start editing the page by modifying app/page.tsx. The page auto-updates as you edit the file.
To use the fully configured Semantic Release feature:
- Go to
.github/workflows/publish.ymlfile - Expose hidden code (lines 26 to 30)
- Enjoy automated versioning and changelog generation (more details)
Add the OPENAI_API_KEY to your
GitHub Actions secrets to enable AI-powered code
reviews.
Easily deploy your Next.js app with Vercel by clicking the button below:
- Click the "Deploy with Vercel" button
- Connect your GitHub repository
- Configure environment variables
- Deploy!
Your application will be live in minutes with automatic CI/CD pipeline.
The following scripts are available in the package.json:
npm run dev- Starts the development servernpm run build- Builds the app for productionnpm run start- Starts the production server
npm run lint- Lints the code using ESLintnpm run lint:ci- Lints the code for CI (treats warnings as errors)npm run lint:fix- Automatically fixes linting errorsnpm run prettier:check- Checks the code for proper formattingnpm run prettier:fix- Automatically fixes formatting issuesnpm run type-check- Runs TypeScript type checking
npm run test- Runs unit and integration testsnpm run test:ci- Runs tests for CI environmentnpm run test:coverage- Generates test coverage reportnpm run test:unit- Runs unit tests onlynpm run test:watch- Runs tests in watch modenpm run test:ui- Runs tests with UI
npm run e2e- Runs end-to-end testsnpm run e2e:ci- Runs E2E tests for CInpm run e2e:ui- Runs E2E tests with Playwright UI
npm run storybook:dev- Starts Storybook in development modenpm run storybook:build- Builds Storybook for productionnpm run storybook:serve- Serves the built Storybooknpm run test:storybook- Runs Storybook tests
npm run analyze- Analyzes bundle sizes for Client, Server, and Edge environments
This template comes with a comprehensive testing setup to ensure your application's reliability and robustness.
Run Vitest tests using:
npm run testFor watch mode:
npm run test:watchGenerate coverage report:
npm run test:coverageRun Playwright E2E tests:
npm run e2eRun with UI for debugging:
npm run e2e:ui
Run Storybook component tests:
npm run test:storybookTo write acceptance tests, we leverage Storybook's play function. This allows you to interact with your components and test various user flows within Storybook.
This boilerplate uses Tailwind CSS for styling and the Szum-Tech Design System, which contains:
- ✅ Fully designed components
- 🎨 Color palette and design tokens
- 🛠️ Utility functions and helpers
- 📖 Comprehensive documentation
Check the Design System Documentation
import { Button } from "@szum-tech/design-system";

export default function MyComponent() {
  return <Button variant="primary">Click me!</Button>;
}We've integrated the innovative ChatGPT Code Review for AI-powered, automated code reviews. This feature provides real-time feedback on your code, helping improve code quality and catch potential issues.
- Generate an API key from OpenAI Platform
- Add
OPENAI_API_KEYas a secret in your GitHub repository settings - The workflow will automatically run on every pull request
For detailed setup instructions, refer to the Using GitHub Actions section in the documentation.
T3 Env provides type-safe environment variable management with build-time validation. It ensures that your application uses correct environment variables and their values are of the expected type.
The config file is located at data/env/{client,server}.ts:
import { createEnv } from "@t3-oss/env-nextjs";
import { z } from "zod";

const env = createEnv({
  server: {
    // Server-side variables
    SECRET_KEY: z.string()
  },
  client: {
    // Client-side variables (must be prefixed with NEXT_PUBLIC_)
    API_URL: z.string().url()
  },
  runtimeEnv: {
    // Assign runtime variables
    SECRET_KEY: process.env.SECRET_KEY,
    API_URL: process.env.NEXT_PUBLIC_API_URL
  }
});

export default env;- ✅ Type-safe environment variables
- ✅ Build-time validation
- ✅ Runtime error prevention
- ✅ Auto-completion in your IDE
If required environment variables are not set, you'll get a clear error message:
❌ Invalid environment variables: { SECRET_KEY: [ 'Required' ] }
This template uses Pino, one of the fastest and most popular logging libraries for Node.js, to provide structured logging throughout the application.
- ✅ High Performance - Minimal overhead with extremely fast JSON logging
- ✅ Structured Logging - JSON-formatted logs for easy parsing and analysis
- ✅ Next.js Compatible - Optimized to work with Next.js App Router and Turbopack
- ✅ Universal Support - Works on both server-side and client-side (browser)
- ✅ Production Ready - JSON logs optimized for log aggregation tools (Datadog, ELK, CloudWatch)
- ✅ Request Tracking - Automatic request ID generation and logging via middleware
- ✅ Error Handling - Integrated with global error boundaries for comprehensive error logging
- ✅ Type-safe Configuration - LOG_LEVEL environment variable with TypeScript validation
The logger is configured in lib/logger.ts and automatically adapts based on the environment:
Server-side (Node.js):
- Structured JSON output for both development and production
- ISO timestamps for consistency
- Includes PID and hostname in development mode
- Direct stdout logging for optimal performance
Client-side (Browser):
- Fallback to browser console with appropriate log levels
- Fatal/Error →
console.error() - Warn →
console.warn() - Info →
console.info() - Debug/Trace →
console.debug()
Technical Note: This implementation doesn't use pino-pretty transport to avoid worker thread issues with
Next.js/Turbopack. The logs remain fully structured and parseable as JSON, making them ideal for production environments
and log aggregation services.
Set the LOG_LEVEL environment variable to control verbosity:
# Available levels (from highest to lowest priority)
LOG_LEVEL=fatal  # Only fatal errors
LOG_LEVEL=error  # Errors and above
LOG_LEVEL=warn   # Warnings and above
LOG_LEVEL=info   # Info and above (default)
LOG_LEVEL=debug  # Debug messages and above
LOG_LEVEL=trace  # Everything including trace
Add to your .env.local:
LOG_LEVEL=debugimport logger from "~/lib/logger";
// Info level
logger.info("User logged in successfully");
// Warning
logger.warn("API rate limit approaching");
// Error with context
logger.error({ userId: "123", error: err }, "Failed to fetch user data");
// Debug information
logger.debug({ query: params }, "Database query executed");Create child loggers with persistent context:
import { createLogger } from "~/lib/logger";

// Create a logger with specific context
const apiLogger = createLogger({
  module: "api",
  service: "user-service"
});

apiLogger.info("Processing request"); // Will include module and service in every logimport { NextResponse } from "next/server";
import logger from "~/lib/logger";
export async function GET(request: Request) {
logger.info("Fetching users list");
try {
const users = await fetchUsers();
logger.debug({ count: users.length }, "Users fetched successfully");
return NextResponse.json(users);
} catch (error) {
logger.error({ error }, "Failed to fetch users");
return NextResponse.json({ error: "Internal server error" }, { status: 500 });
}
}"use server";
import { createLogger } from "~/lib/logger";
const actionLogger = createLogger({ context: "server-action" });
export async function createUser(formData: FormData) {
actionLogger.info({ action: "createUser" }, "Creating new user");
try {
// Your logic here
actionLogger.info({ userId: newUser.id }, "User created successfully");
return { success: true };
} catch (error) {
actionLogger.error({ error }, "Failed to create user");
return { success: false, error: "Failed to create user" };
}
}The template includes automatic logging in several key areas:
Every HTTP request is automatically logged with:
- Request ID: Unique UUID for request tracing
- HTTP Method: GET, POST, PUT, DELETE, etc.
- URL: Full request URL
- User Agent: Client information
- Response Status: HTTP status code
- Duration: Request processing time in milliseconds
The X-Request-ID header is added to all responses for distributed tracing.
Example log output:
{
  "level": 30,
  "time": "2025-01-19T10:30:45.123Z",
  "requestId": "550e8400-e29b-41d4-a716-446655440000",
  "method": "GET",
  "url": "http://localhost:3000/api/users",
  "userAgent": "Mozilla/5.0...",
  "msg": "Incoming request"
}The health check endpoint includes:
- Info-level logging when endpoint is called
- Debug-level logging with response details
- Error logging if health check fails
- Timestamp in response for monitoring
Page-level errors (app/error.tsx):
- Catches errors in specific pages/routes
- Logs error details including message, stack trace, and digest
- Provides user-friendly error UI with retry option
Application-level errors (app/global-error.tsx):
- Catches critical errors across the entire application
- Logs fatal errors with full context
- Last-resort error boundary for unhandled exceptions
- Use Structured Logging: Always include context objects for better searchability
// Good
logger.error({ userId, orderId, error }, "Order processing failed");

// Avoid
logger.error(`Order ${orderId} failed for user ${userId}`);- Don't Log Sensitive Data: Never log passwords, tokens, or PII
// Bad
logger.info({ password: user.password }, "User login");

// Good
logger.info({ userId: user.id }, "User login");-
Use Appropriate Log Levels:
error- Failures that need attentionwarn- Issues that don't stop executioninfo- Important business eventsdebug- Detailed diagnostic information
-
Include Error Objects: Always pass error objects for full stack traces
try {
  // code
} catch (error) {
  logger.error({ error }, "Operation failed"); // Captures full stack
}Logs are output in structured JSON format, making them easy to parse and search:
{
  "level": 30,
  "time": "2025-01-19T10:30:45.123Z",
  "pid": 12345,
  "hostname": "my-server",
  "msg": "User login successful",
  "userId": "user-123",
  "action": "login"
}
Log Levels (Pino standard):
10- trace20- debug30- info40- warn50- error60- fatal
The structured JSON output is compatible with all major log aggregation and monitoring services:
Cloud Platforms:
- Vercel: Built-in log streaming and filtering
- AWS CloudWatch: Works with Lambda, ECS, and EC2
- Google Cloud Logging: Compatible with Cloud Run, GKE, and App Engine
- Azure Monitor: Supports structured JSON logs
Log Management Services:
- Datadog: Direct Node.js integration available
- New Relic: Standard JSON log format supported
- Splunk: Can ingest and parse Pino JSON logs
- Sumo Logic: JSON log parsing built-in
Open Source:
- ELK Stack (Elasticsearch, Logstash, Kibana): Logstash can parse Pino format
- Grafana Loki: Supports JSON log ingestion
- Graylog: JSON input supported
Development:
npm run dev
# Logs appear in terminal as structured JSON
Production (Vercel):
vercel logs [deployment-url]
# Or view in Vercel Dashboard → Logs
Docker/Self-hosted:
# View container logs
docker logs [container-id]

# Stream logs in real-time
docker logs -f [container-id]

# Filter by log level (using jq)
docker logs [container-id] | jq 'select(.level >= 40)'GitHub Actions offer multiple smooth workflows that make development easier and reduce the developer's impact on repetitive tasks.
Provides AI-powered code reviews on every pull request.
Validates code on every pull request, checking:
- 🏗️ Build - Ensures the project builds successfully
- 🧹 Prettier - Code formatting validation
- ⬣ ESLint - Code quality and linting
- 🛠️ TypeScript - Type checking
- 🧪 Tests - Unit and integration tests
- 🎭 Playwright - E2E tests
Automatically triggered when changes are merged to the main branch:
- 📦 Determines next version using Semantic Release
- 📝 Updates
CHANGELOG.md - 🏷️ Creates GitHub release
- 🔢 Bumps version in
package.json
Based on Conventional Commits, this workflow uses @szum-tech/semantic-release-preset configuration.
Since JavaScript modules can be shared between both Server and Client Components, it's possible for server-only code to accidentally be included in the client bundle.
Use the server-only package to give developers a build-time error if they accidentally import server code into a Client Component.
npm install server-onlyThen import it in any module that contains server-only code:
import "server-only";

// The rest of your server-only code
export async function getData() {
  // This function can only be used on the server
}nextjs-szumplate/
├── .claude/ # Claude Code configuration (agents, skills, hooks)
├── .github/
│ └── workflows/ # GitHub Actions workflows (CI/CD)
├── .storybook/ # Storybook configuration
├── app/ # Next.js App Router (pages, layouts, API routes)
├── components/ # Reusable React components (stories co-located)
├── constants/ # Static data and configuration constants
├── data/
│ └── env/ # T3 Env type-safe environment variables
├── features/ # Feature-based modules (components, schemas, server)
├── lib/ # Utility functions and configurations (logger)
├── public/ # Static assets (images, fonts, icons)
├── tests/ # Test files
│ ├── e2e/ # Playwright end-to-end tests
│ ├── integration/ # Storybook integration test setup
│ └── unit/ # Vitest unit tests
├── .env.example # Example environment variables template
├── eslint.config.mjs # ESLint configuration
├── next.config.ts # Next.js configuration
├── playwright.config.ts # Playwright E2E test configuration
├── prettier.config.js # Prettier configuration
├── proxy.ts # Request logging middleware
├── release.config.js # Semantic Release configuration
├── tsconfig.json # TypeScript configuration
├── vitest.config.ts # Vitest test configuration
└── package.json # Project dependencies and scripts
.claude/- Claude Code configuration (agents, skills, hooks, project context).github/workflows/- CI/CD automation (code review, PR checks, releases).storybook/- Storybook setup for component development and documentationapp/- Next.js 16 App Router with server/client components, layouts, and API routescomponents/- Shared, reusable UI components with co-located storiesconstants/- Static data and configuration constantsdata/env/- T3 Env type-safe environment variable definitionsfeatures/- Feature-based modules with related components and logic (modular architecture)lib/- Utility functions, helpers, and third-party library configurationspublic/- Static files served directly (images, fonts, favicon, etc.)tests/e2e/- End-to-end tests using Playwright for full user flow testingtests/unit/- Unit tests using Vitest
eslint.config.mjs- ESLint linting rules and pluginsnext.config.ts- Next.js framework configuration (build, plugins, Turbopack, etc.)playwright.config.ts- Playwright E2E testing configurationpostcss.config.js- PostCSS plugins and Tailwind CSS processingprettier.config.js- Code formatting rules and preferencesrelease.config.js- Semantic Release automation configurationtsconfig.json- TypeScript compiler options and path aliasesvitest.config.ts- Vitest unit test configuration and setup
Contributions are welcome! If you'd like to contribute to this project:
- Fork the repository
- Create a feature branch (
git checkout -b feature/amazing-feature) - Commit your changes using Conventional Commits
- Push to the branch (
git push origin feature/amazing-feature) - Open a Pull Request
Please make sure your code passes all tests and follows the project's coding standards.
This project is licensed under the MIT License. For more information, see the LICENSE file.
This template is built with amazing tools and libraries from the open-source community:
- Next.js - The React Framework
- Tailwind CSS - Utility-first CSS framework
- TypeScript - JavaScript with syntax for types
- Vitest - Next generation testing framework
- Playwright - E2E testing framework
- Storybook - UI component explorer
- And many more amazing libraries!
If you have any questions, suggestions, or issues:
- 🐛 Open an issue
- ⭐ Star this repository
- 👨💻 Check out my GitHub profile
Made with ❤️ by Szum-Tech
If this template helped you, please consider giving it a ⭐ on GitHub!