![]()


Microsoft OneDrive is a cloud-based file storage service provided by Microsoft, allowing users and organizations to store, share, and manage files securely online.
The ballerinax/microsoft.onedrive package offers APIs to connect and interact with OneDrive API endpoints, specifically based on Microsoft Graph v1.0. This package enables developers to perform operations such as uploading, downloading, and sharing files and folders on OneDrive using the Ballerina language.
-
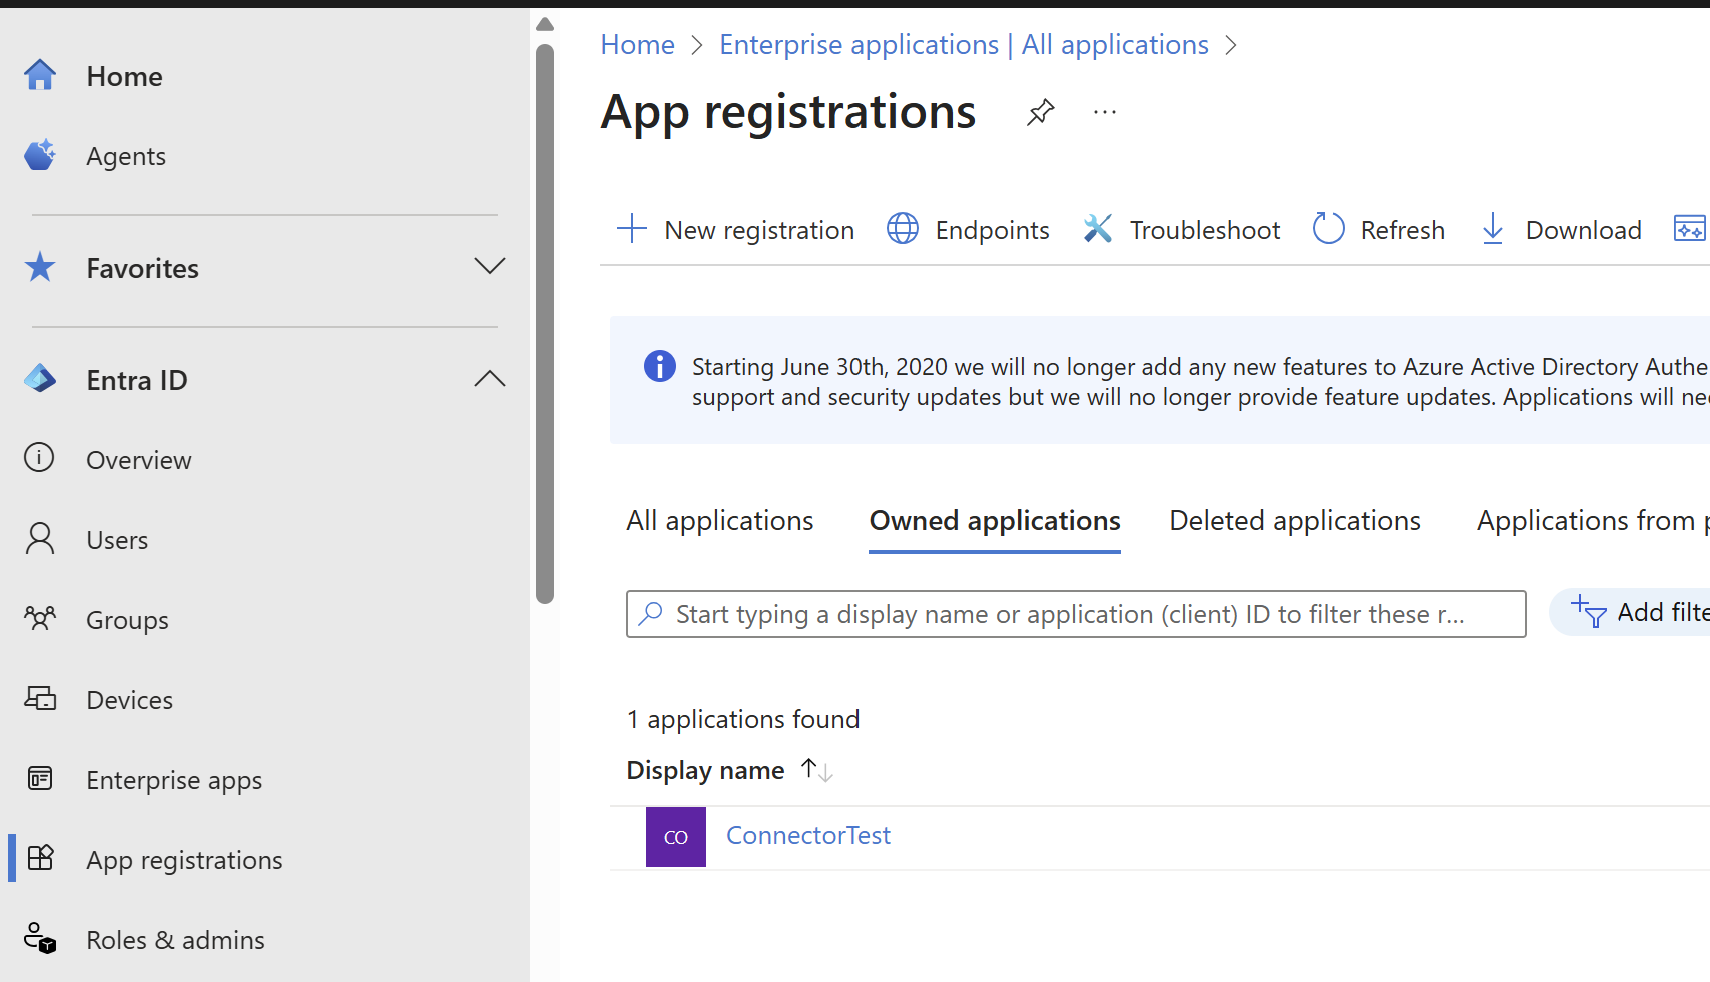
Sign in to the Microsoft Entra admin center.
-
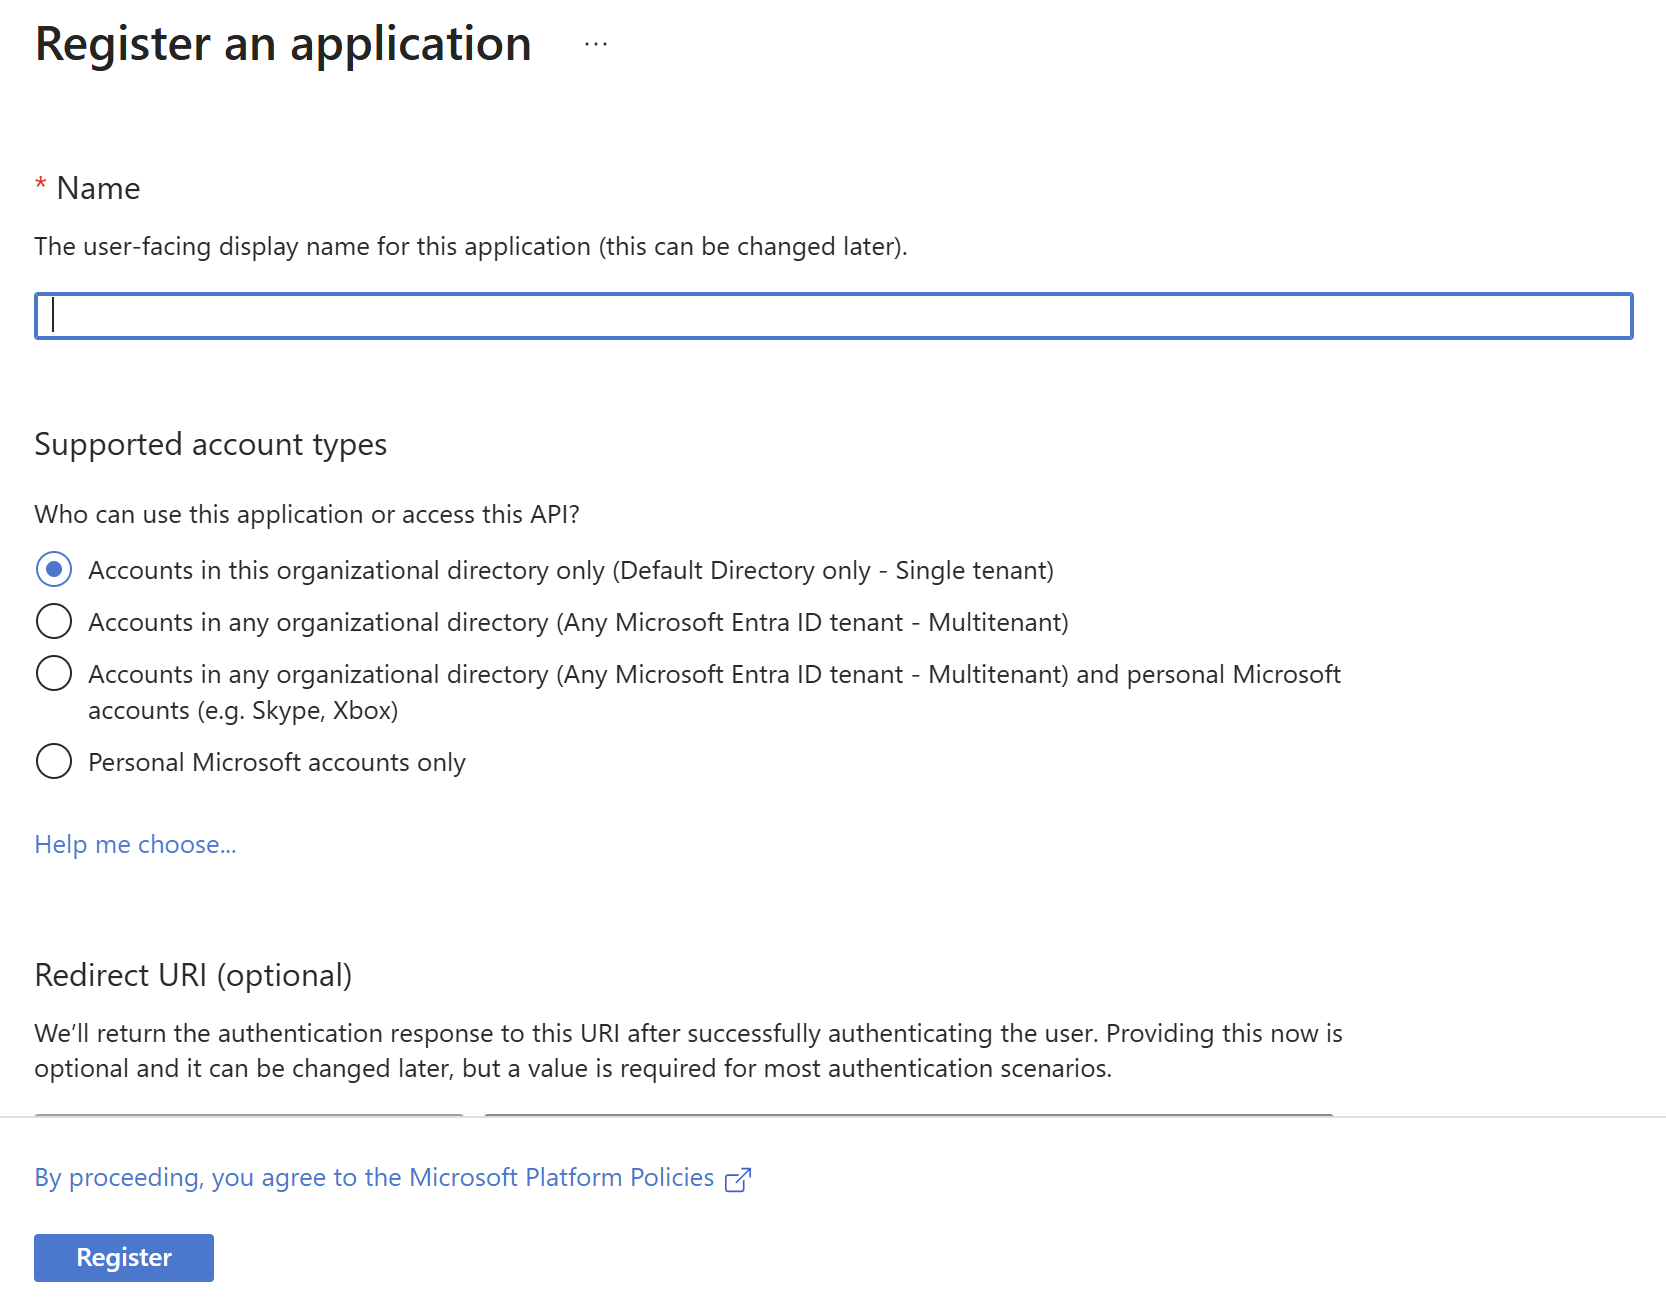
Go to App registrations > New registration.
-
Enter a display name for your application.
-
Select who can use the application in the Supported account types section.
-
Leave Redirect URI blank for now (you will configure it later).
-
Click Register to complete the initial app registration.
-
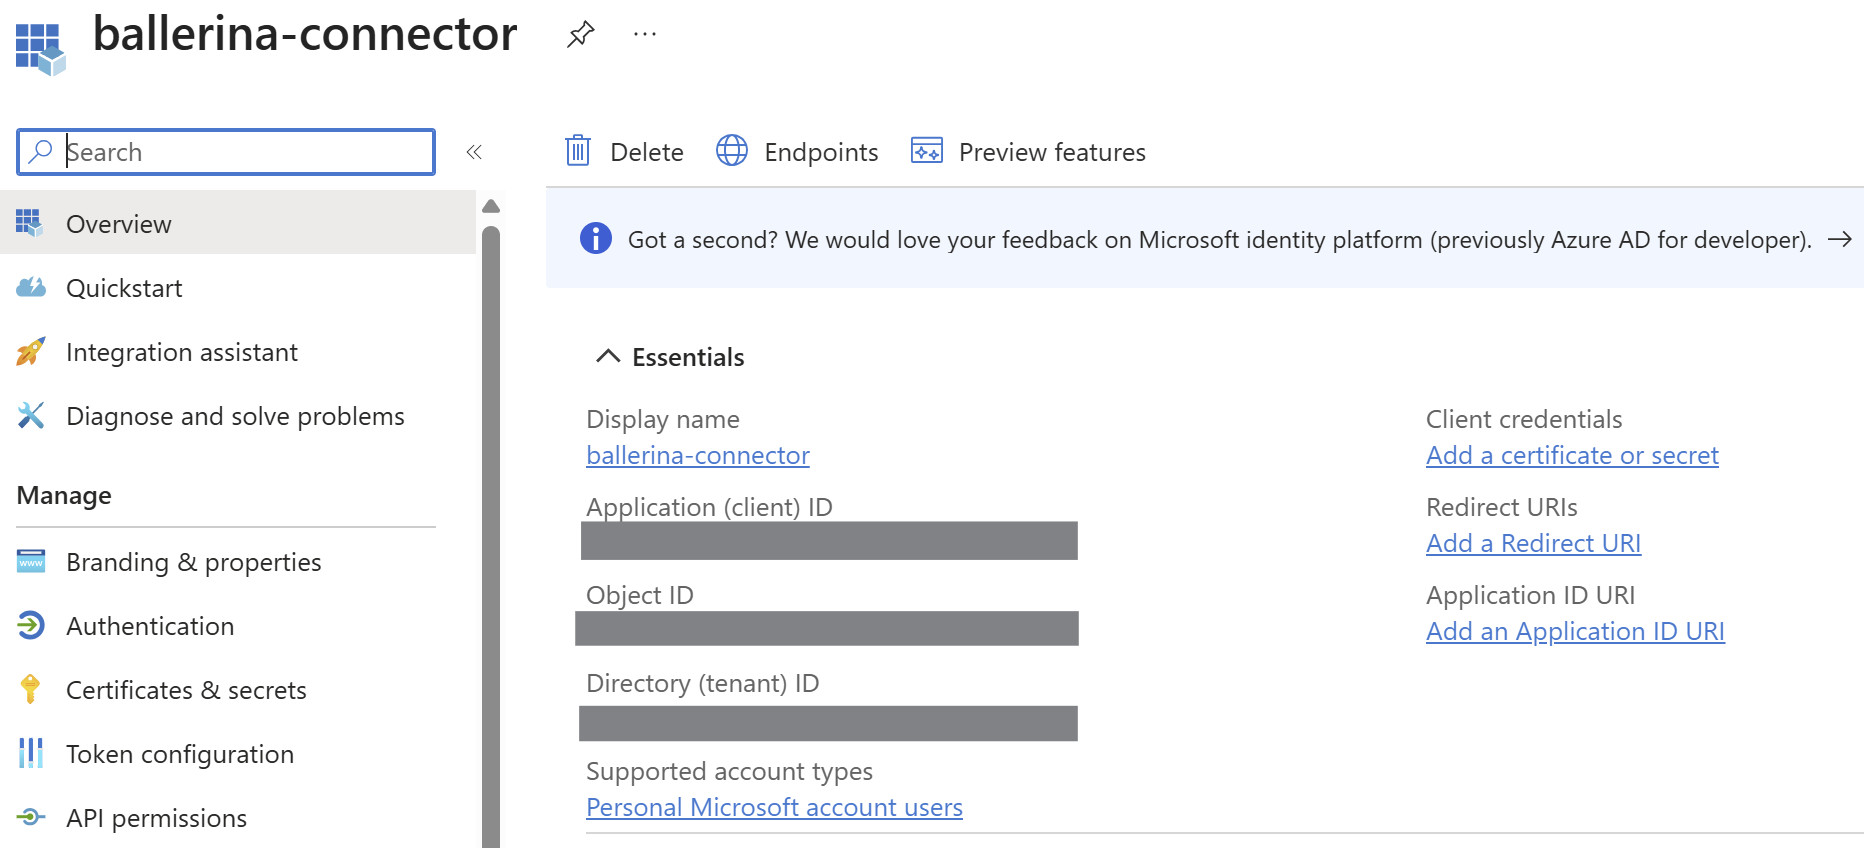
After registration, note the Application (client) ID from the Overview pane.
-
Under Manage, select Authentication.
-
Under Platform configurations, click Add a platform.
-
Select the Web tile.
-
Set the Redirect URI to
http://localhost.
-
Click Configure to save the platform configuration.
-
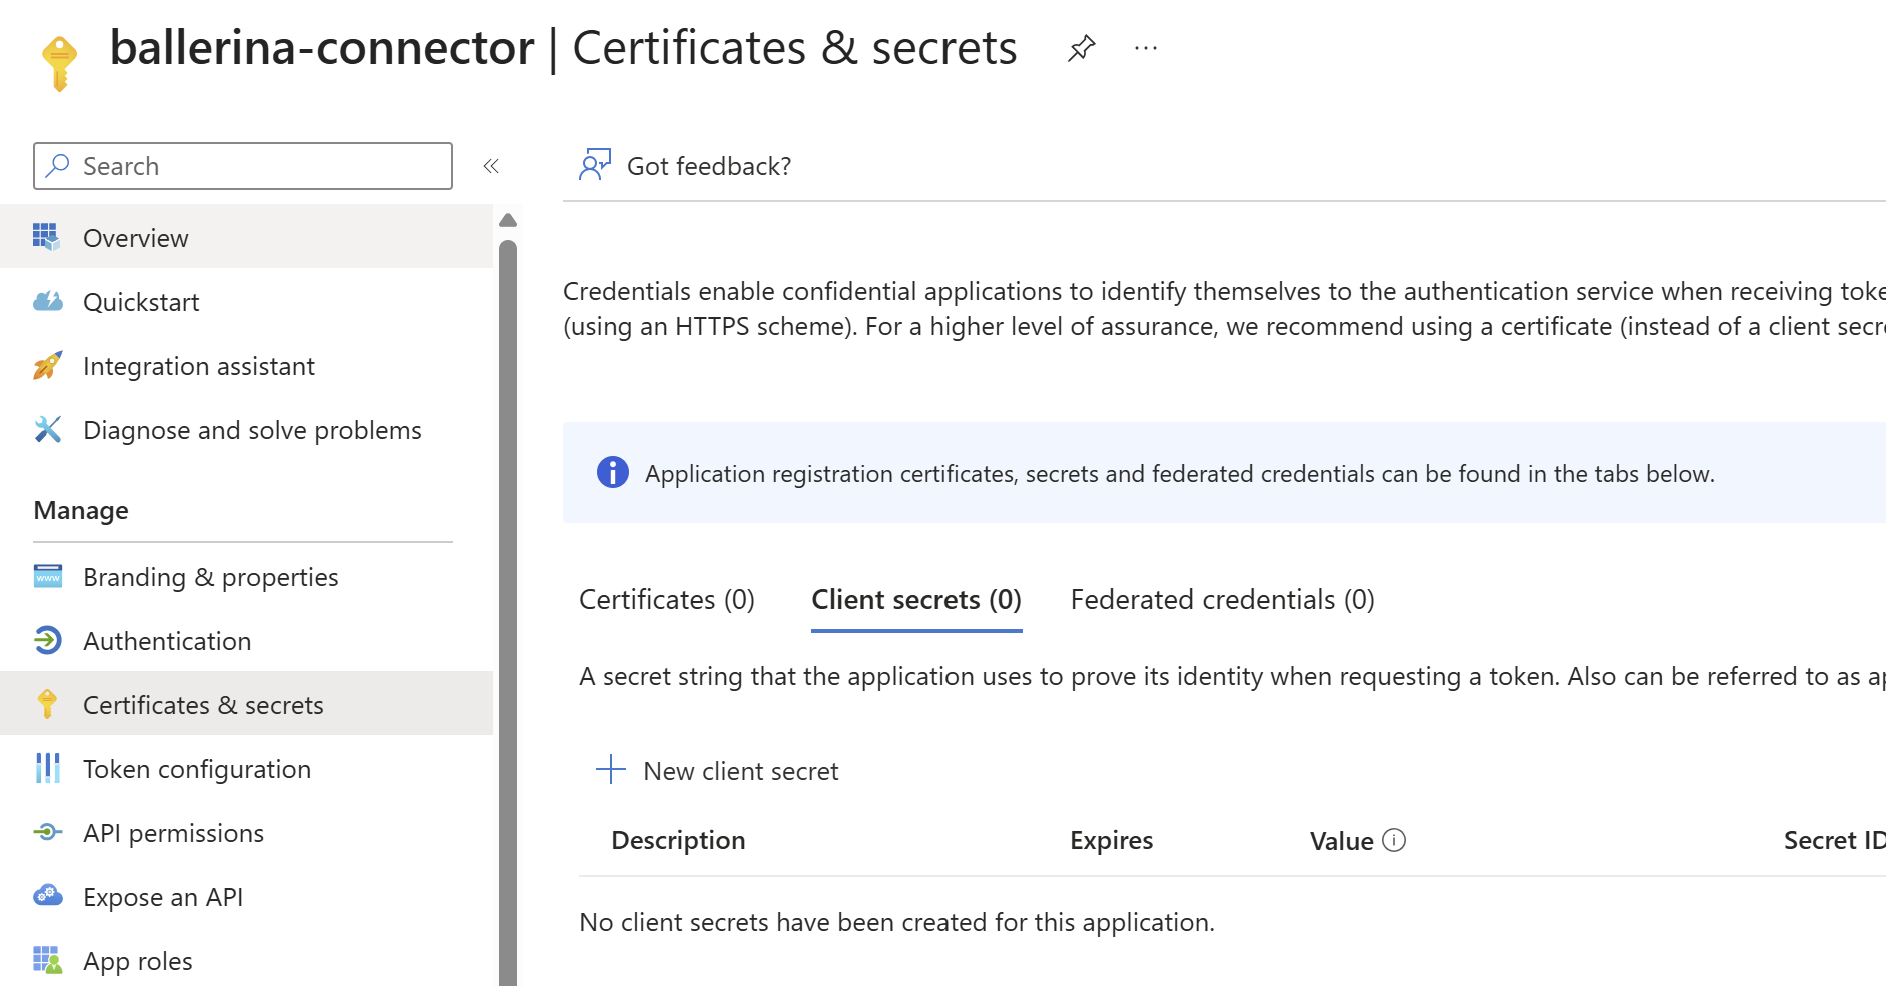
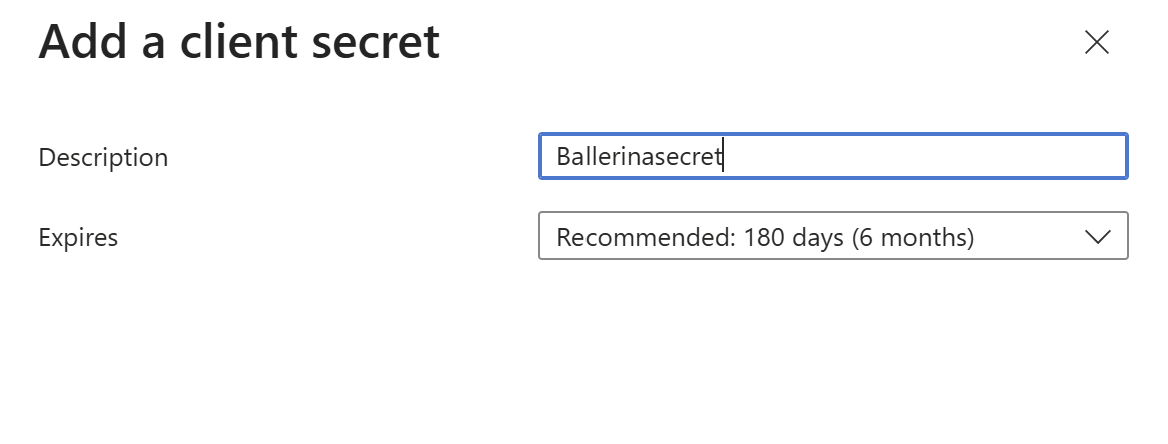
Go to Certificates & secrets > Client secrets > New client secret.
-
Add a description for your client secret.
-
Select an expiration period or specify a custom lifetime.
-
Click Add.
-
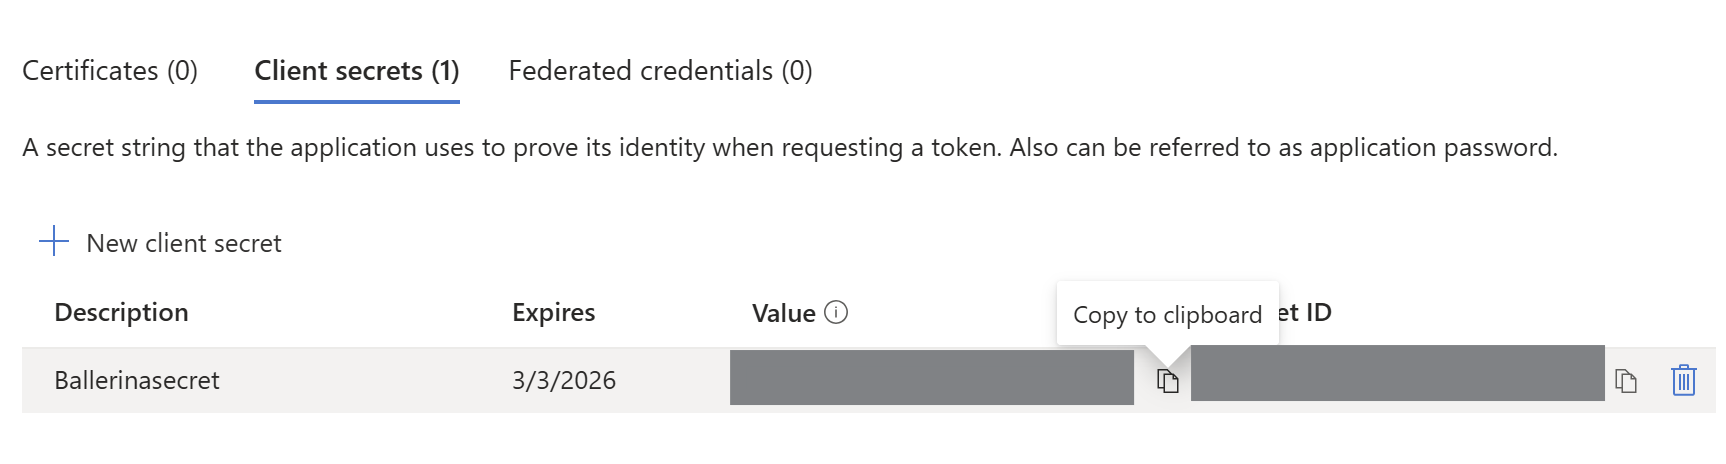
Copy and save the secret value for use in your client application code. You will not be able to view it again after leaving the page.
-
In your browser, enter the following URL (replace
<client-id>with your actual client ID):https://login.microsoftonline.com/common/oauth2/v2.0/authorize?client_id=<client-id>&scope=offline_access files.read files.read.all files.readwrite files.readwrite.all&response_type=code&redirect_uri=http://localhostQuery parameter details:
Parameter Description client_idThe Application (client) ID from your Azure app registration. scopeThe permissions your app is requesting. For OneDrive, these include:
-offline_access: Allows your app to receive refresh tokens for long-lived access.
-files.read: Read files the user can access.
-files.read.all: Read all files the user can access, including those shared with them.
-files.readwrite: Read and write files the user can access.
-files.readwrite.all: Read and write all files the user can access, including those shared with them.response_typeSet to codeto request an authorization code for OAuth2.redirect_uriThe URI to redirect to after authentication. Must match the URI configured in your Azure app registration (e.g., http://localhost). -
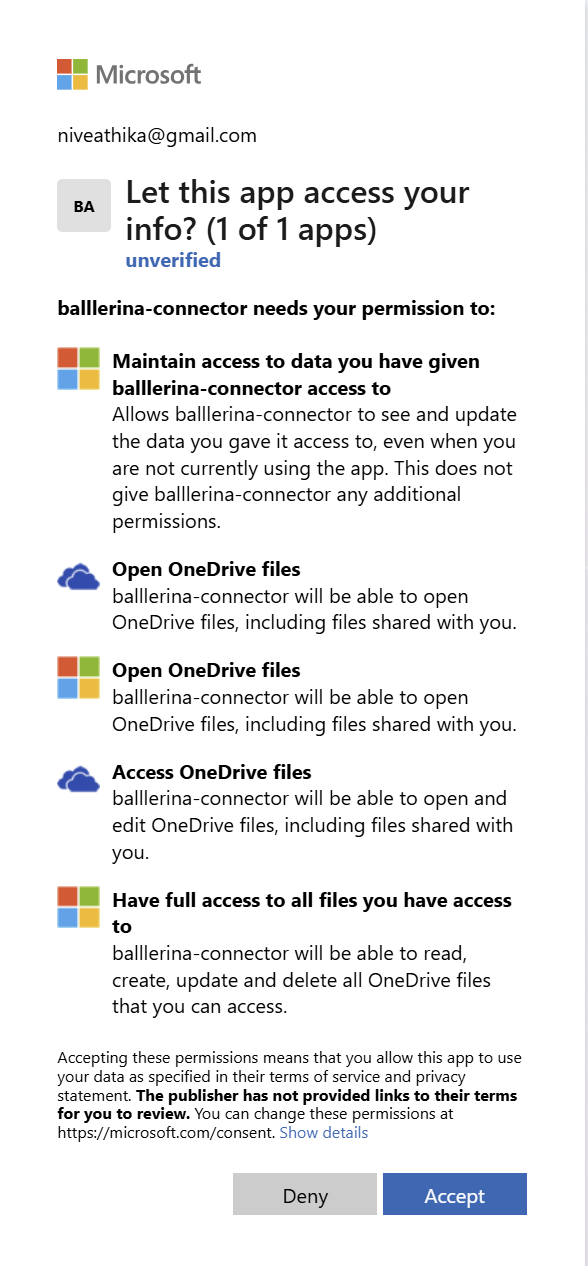
Grant access to the application and click Accept.
-
After authentication, you will be redirected to a URL like:
http://localhost/?code=<auth-code>Copy the authorization code from the URL.
-
Exchange the authorization code for access and refresh tokens by sending the following request:
curl -X POST https://login.microsoftonline.com/common/oauth2/v2.0/token \
  -H "Content-Type: application/x-www-form-urlencoded" \
  -d "client_id=<client-id>&client_secret=<client-secret>&redirect_uri=http://localhost&code=<auth-code>&grant_type=authorization_code"
The tokens will be returned in the response.
To use the microsoft.onedrive connector in your Ballerina application, modify the .bal file as follows:
Import the microsoft.onedrive module.
import ballerinax/microsoft.onedrive;Create a onedrive:ConnectionConfig with the obtained OAuth2.0 tokens and initialize the connector with it.
configurable string clientId = ?;
configurable string clientSecret = ?;
configurable string refreshToken = ?;

onedrive:Client onedrive = check new (
    config = {
        auth: {
            refreshToken,
            clientId,
            clientSecret,
            scopes: ["Files.Read", "Files.Read.All", "Files.ReadWrite", "Files.ReadWrite.All"]
        }
    }
);Now, utilize the available connector operations.
onedrive:DriveCollectionResponse driveItems = check oneDriveClient->listDrive();The microsoft.onedrive connector provides practical examples illustrating usage in various scenarios. Explore these examples, covering the following use cases:
- Upload File - This example demonstrates how to use the Ballerina Microsoft OneDrive connector to upload a file from your local system to your OneDrive account.
-
Download and install Java SE Development Kit (JDK) version 21. You can download it from either of the following sources:
Note: After installation, remember to set the
JAVA_HOMEenvironment variable to the directory where JDK was installed. -
Download and install Ballerina Swan Lake.
-
Download and install Docker.
Note: Ensure that the Docker daemon is running before executing any tests.
-
Export Github Personal access token with read package permissions as follows,
export packageUser=<Username>
export packagePAT=<Personal access token>
Execute the commands below to build from the source.
-
To build the package:
./gradlew clean build
-
To run the tests:
./gradlew clean test -
To build the without the tests:
./gradlew clean build -x test -
To run tests against different environments:
./gradlew clean test -Pgroups=<Comma separated groups/test cases>
-
To debug the package with a remote debugger:
./gradlew clean build -Pdebug=<port>
-
To debug with the Ballerina language:
./gradlew clean build -PbalJavaDebug=<port>
-
Publish the generated artifacts to the local Ballerina Central repository:
./gradlew clean build -PpublishToLocalCentral=true
-
Publish the generated artifacts to the Ballerina Central repository:
./gradlew clean build -PpublishToCentral=true
As an open-source project, Ballerina welcomes contributions from the community.
For more information, go to the contribution guidelines.
All the contributors are encouraged to read the Ballerina Code of Conduct.
- For more information go to the
microsoft.onedrivepackage. - For example demonstrations of the usage, go to Ballerina By Examples.
- Chat live with us via our Discord server.
- Post all technical questions on Stack Overflow with the #ballerina tag.